


A family tree is a visual representation of your lineage. It shows how different generations are connected. A well-organized family tree helps clarify relationships. You can trace your ancestry for personal interest or create a genealogy project.
PowerPoint offers tools like SmartArt and templates to build family trees. However, arranging the elements can be time-consuming. This guide provides a step-by-step process to create a family tree in PowerPoint. It also introduces Wondershare EdrawMax, simplifying the process with pre-made templates and automatic formatting. Read on!
In this article
Preparations for Creating a Family Tree
Gathering the details and planning the layout is important before designing your family tree in PowerPoint. Proper preparation will help you avoid confusion and ensure that your family tree is done right.
Here are the steps to prepare:
Step 1Gather Family Information
Collect the names, birth dates, and relationships of family members. Decide how many generations you want to include (parents, grandparents, great-grandparents, etc.). Consider adding photos for a more personal touch.
Step 2Choose a Family Tree Style
There are different ways to structure a family tree, depending on your preferences:
- Traditional Tree: Starts with an ancestor and branches down to descendants.
- Fan Chart: Displays family members in a semi-circular or circular format.
- Pedigree Chart: Focuses on direct lineage, typically used for genealogy research.
Step 3Plan Your Layout
Sketch a rough draft on paper to visualize placement. Determine the number of levels and spacing required. Consider color-coding different branches of the family for better clarity.
Organizing your information and layout beforehand gives you a clear roadmap when building the family tree in PowerPoint.
How to Make a Family Tree in PowerPoint
PowerPoint provides flexible tools to design family trees using shapes, SmartArt, or templates. Although it needs manual adjustments, PowerPoint allows for easy customization and sharing. Here are two methods to make a family tree in PowerPoint.
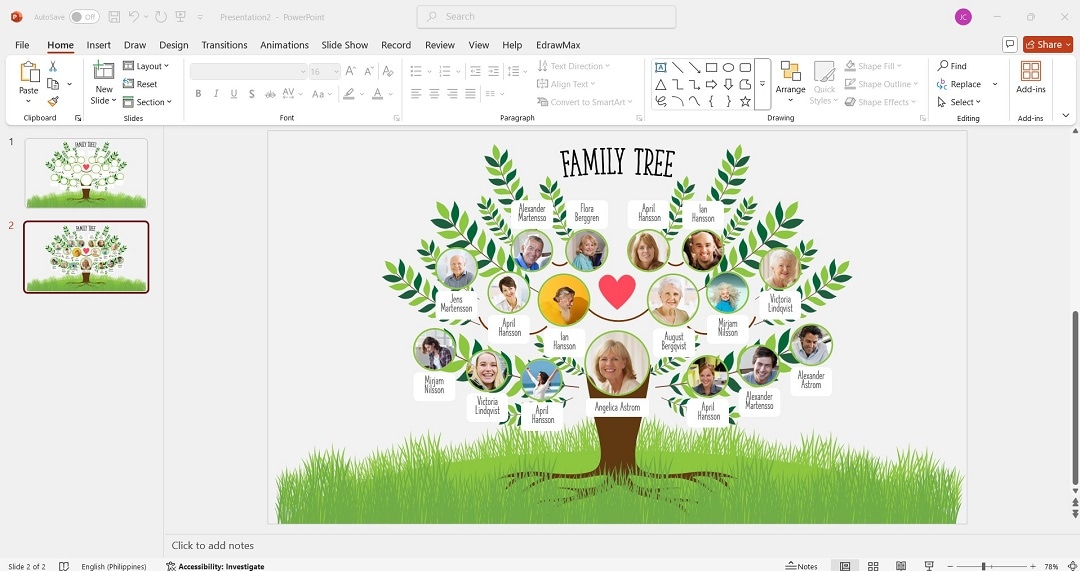
Method 1: Using a Family Tree Template
PowerPoint offers built-in templates that simplify family tree creation. Here’s how to use them:
Step 1
Open PowerPoint and create a new slide. Go to File > New and search for Family Tree in the template search bar. Select a template that fits your needs and click Create.

Step 2
Edit the placeholder text with family member names, dates, and images. Do this by clicking each text box or photo.

Step 3
Customize the colors and fonts to match your preferred style.
A template is the easiest way to create a family tree, providing a pre-structured format that only requires minor adjustments.
Method 2: Creating a Family Tree With SmartArt
If you want more flexibility, SmartArt allows you to build a customized family tree with a professional layout. Follow these steps:
Step 1
Insert a SmartArt graphic. Go to the Insert tab and select SmartArt. Choose Hierarchy and pick a layout that best fits a family tree structure.

Step 2
Add family member names. Click each box and enter the names of family members. To add more generations, right-click a box and choose Add Shape.

Step 3
Use the Design and Format tabs to change colors and styles. Resize boxes and adjust spacing for clarity. Insert photos to personalize the tree.

Tip: Make a Family Tree in PowerPoint with an Add-In
Creating a family tree in PowerPoint can be challenging when aligning shapes manually. EdrawMax PowerPoint Add-in simplifies the process with pre-made templates, automatic formatting, and customization options. Here’s how:
Step 1
Download and install EdrawMax on your computer. The PowerPoint add-in comes with it. Launch PowerPoint. Next, go to File > Options > Add-ins > Manage > COM Add-ins > Go.

Step 2
Click the EdrawMax tab in PowerPoint. Choose the Family Tree template from the available categories. Wait for the add-in to transport you to a pop-up window.

Step 3
In the pop-up window, select a family tree template you like.

Step 4
Enter family member names and relationships into the template. Rearrange or resize elements as needed. Add images, change colors, and format text with built-in tools.

Step 5
Adjust the positioning and finalize the layout. Save the family tree and insert it into PowerPoint to share your completed family tree in your presentation.
With EdrawMax, you can create detailed, well-structured family trees in seconds, saving time and effort.
Conclusion
Creating a family tree in PowerPoint allows you to visualize your ancestry and relationships. While PowerPoint offers SmartArt and templates, manually aligning elements can be time-consuming. For a faster and more structured approach, EdrawMax provides ready-made templates. It offers automatic formatting, allowing you to create professional family trees in seconds.
PowerPoint and EdrawMax offer great solutions to organize and display your family lineage. Use them for a personal genealogy chart or a family history presentation.
FAQs
FAQ
-
What is the best format for a family tree?
The best format depends on your purpose. A traditional tree works well for general ancestry. Meanwhile, a fan or pedigree chart is ideal for detailed genealogical research. -
What is the best program to create a family tree?
PowerPoint is useful for basic family trees. On the other hand, EdrawMax is recommended for more advanced diagrams. The platform has pre-built templates and automatic formatting features to save time and effort. -
Where can I find a family tree template?
You can find PowerPoint templates under File > New. You can also search online for free templates or use EdrawMax for professionally designed family tree diagrams.